Author: Devika R
December 22, 2025
10 min read
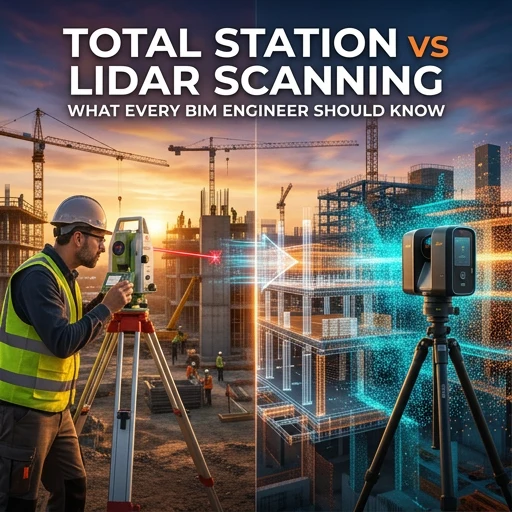
Scan-to-BIM Looks Simple — Until You Do It Right

Scan-to-BIM is often marketed as a clean, linear workflow:
Scan the building → Generate a point cloud → Convert it into a BIM model.
On paper, it sounds straightforward.
In reality, anyone who has worked on a real Scan-to-BIM project knows this process is far more complex, nuanced, and decision-driven than it appears.
The success of Scan-to-BIM does not depend on how advanced your laser scanner is.
It depends on one critical question that is frequently ignored:
Why are you modelling in the first place?
At BIM Cafe, we consistently observe beginners struggling with Scan-to-BIM—not because they lack software knowledge, but because they treat every Scan-to-BIM project as identical. This mindset leads to inaccurate models, bloated files, coordination failures, and deliverables that offer little real value.
Understanding the purpose behind the model is what separates professional Scan-to-BIM workflows from expensive 3D drawings.
Why Purpose Matters in Scan-to-BIM
A BIM model is not universal.
There is no single “correct” Scan-to-BIM output that fits every project.
The project objective determines:
- What elements should be modelled
- How accurate the geometry must be
- The acceptable tolerance levels
- The required Level of Detail (LOD)
- What information should not be modelled
Common Scan-to-BIM use cases include:
- Renovation and refurbishment projects
- Retrofit and redesign work
- As-built documentation
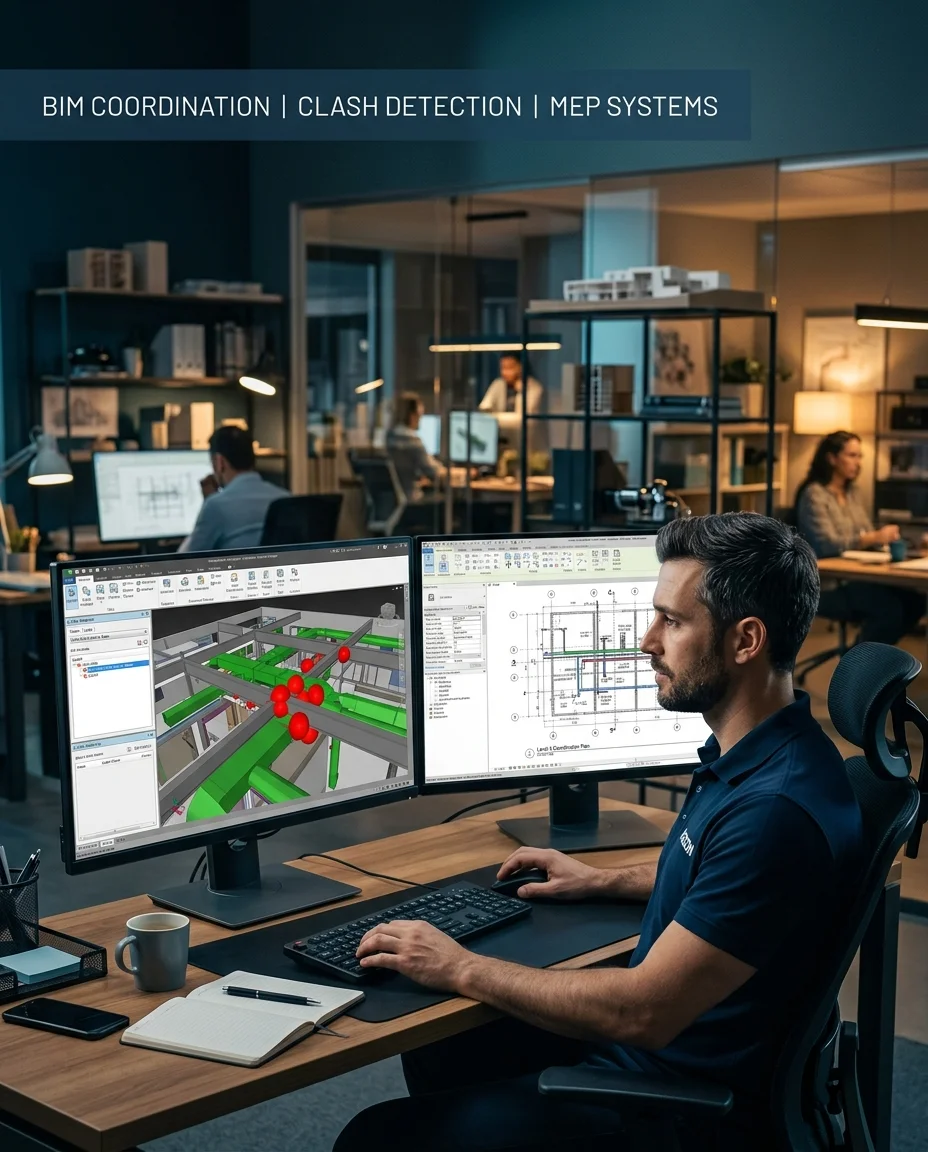
- Clash-free coordination between disciplines
- Facility management and asset planning
Each of these use cases demands different modelling priorities.
For example, a renovation project does not require the same level of detail as a facility management model, and a coordination model should never be overloaded with decorative or unnecessary geometry.
Treating all Scan-to-BIM projects the same is the single biggest mistake beginners make.
1. Field Scanning — Where Quality Truly Begins
A successful Scan-to-BIM project always starts on site.
Modern LiDAR scanners are extremely powerful and can capture:
- Millions of data points per second
- Accuracy levels as tight as ±2 mm
- RGB colour data for improved visual interpretation
However, even the most advanced scanner cannot compensate for poor scanning strategy.
Common field-level failures include:
- Poorly planned scanning paths
- Missed structural or service surfaces
- Unclear registration and control strategies
- Excessive noise from furniture, vegetation, or moving objects
Poor scans produce poor BIM models.
No amount of Revit expertise can fix incomplete, misaligned, or noisy point cloud data.
Professional Scan-to-BIM workflows treat scanning as a critical engineering activity, not a simple data capture exercise.
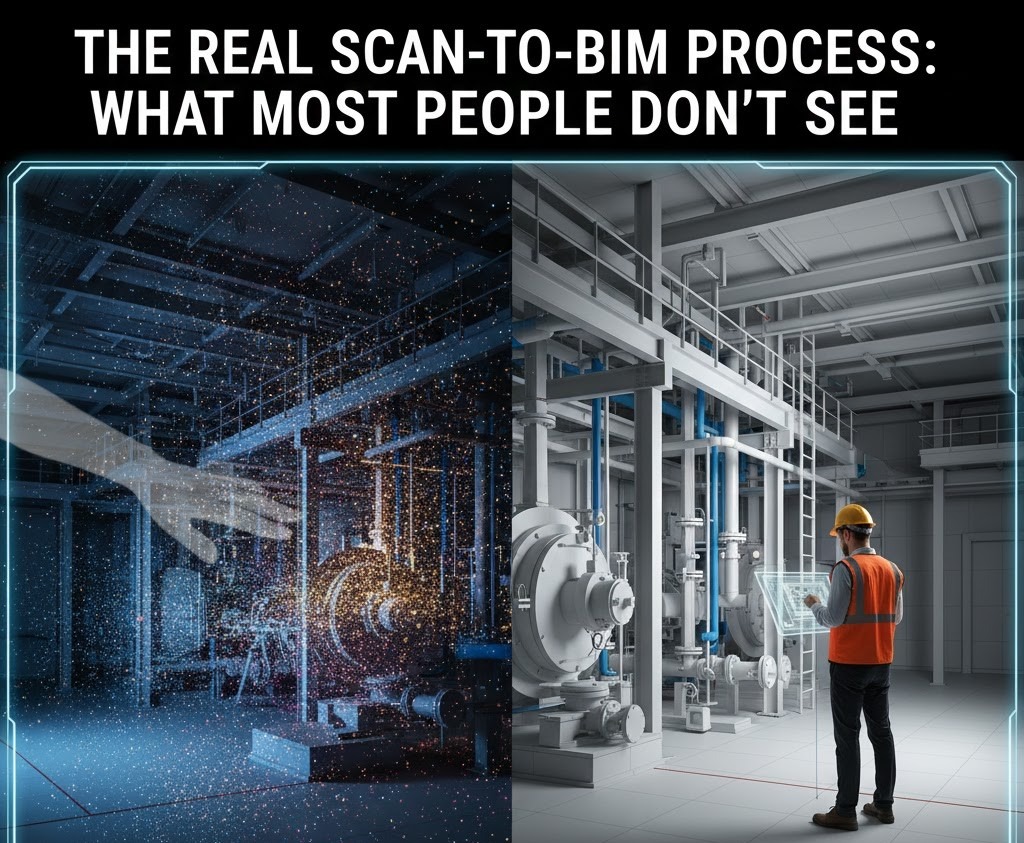
2️. Point Cloud Processing — The Work Most People Never See

Point cloud processing is the most underestimated—and most important—phase of Scan-to-BIM.
After site scanning, raw scan data must go through a rigorous process:
- Registration of multiple scans into a single coordinate system
- Cleaning and noise removal
- Cropping unnecessary areas
- Logical segmentation and organisation
- Verification against site conditions and reference points
This “invisible” stage determines:
- Final model accuracy
- Geometric reliability
- Alignment between disciplines
- Long-term usability of the BIM file
At BIM Cafe, we stress that this stage often decides whether a Scan-to-BIM project succeeds or fails, even before modelling begins.
Skipping or rushing this step results in models that look acceptable visually but fail during coordination, construction, or facility use.
3️. BIM Modelling — Only After the Foundation Is Set

Modelling should never begin immediately after importing the point cloud.
Before creating a single wall, slab, or pipe, the BIM environment must be clearly defined:
- Project levels and reference planes
- Grids and alignment logic
- Confirmed project scope
- Required LOD and modelling tolerances
- Naming conventions and BIM standards
When this foundation is ignored, projects suffer from:
- Continuous rework
- File corruption and performance issues
- Discipline-to-discipline misalignment
- Confusion during coordination and documentation
Professional modelling starts only after these rules are established.
Common Scan-to-BIM Mistakes to Avoid
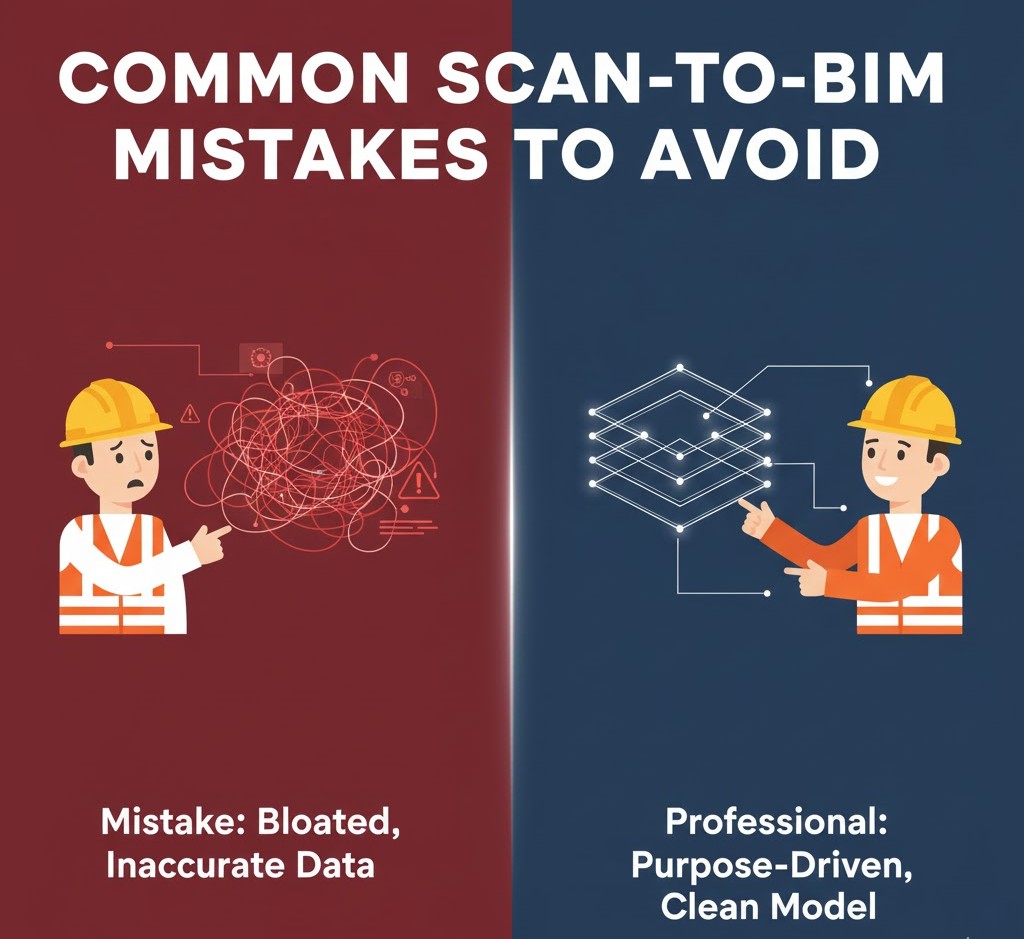
Beginners often make these critical errors:
- Modelling every surface irregularity and imperfection
- Guessing geometry where scan data is unclear
- Blindly trusting point cloud data without validation
- Adding unnecessary detail that serves no purpose
- Ignoring real-world construction logic and tolerances
These mistakes lead to:
- Heavy and unstable BIM files
- Inaccurate or misleading geometry
- Poor coordination usability
- Models that facility teams cannot rely on
A BIM model overloaded with unnecessary detail is not “advanced”—it is inefficient.
What Actually Makes Scan-to-BIM Work
Professionals approach Scan-to-BIM very differently.
Effective workflows include:
- Dividing large point clouds into manageable zones
- Using colourised scans to correctly interpret geometry
- Modelling only what the project truly requires
- Keeping BIM files lightweight, structured, and logical
- Clearly documenting modelling assumptions and decisions
This approach delivers BIM models that:
- Teams can trust
- Coordinate efficiently
- Reuse for future project stages
- Integrate seamlessly with construction and FM workflows
The Real Goal of Scan-to-BIM

Scan-to-BIM is not about creating a perfect digital replica of reality.
Its real purpose is to deliver a model that is:
- Reliable
- Purpose-driven
- Accurate within defined tolerances
A successful Scan-to-BIM model supports:
- Design decision-making
- Clash-free construction coordination
- Asset management and facility operations
- Long-term building lifecycle use
When executed correctly, Scan-to-BIM saves:
- Time
- Cost
- Coordination effort
- Future rework
That is where its true value lies.
How BIM Cafe Trains Scan-to-BIM the Right Way
At BIM Cafe Learning Hub, we do not teach Scan-to-BIM as a shortcut or software trick.
We train engineers and professionals to understand:
- Why the model is being created
- How much detail is actually required
- How scan accuracy translates into BIM accuracy
- How Scan-to-BIM fits into real project workflows
Our training focuses on:
- Point cloud interpretation
- Scan-to-Revit workflows
- Realistic LOD management
- Industry standards and documentation
- Deliverable-driven modelling
Because good BIM professionals don’t just model—they make informed decisions.
Final Thoughts

Scan-to-BIM is powerful—but only when executed with clarity and purpose.
When done right, it becomes a decision-making tool.
When done wrong, it becomes an expensive 3D drawing.
At BIM Cafe, we ensure our students and professionals learn what most people never see:
the process, discipline, and reasoning behind a reliable Scan-to-BIM model.
If you want to move beyond software knowledge and learn real Scan-to-BIM workflows used on live projects, connect with BIM Cafe for guided training and career support.
Because strong BIM professionals don’t just model — they make informed decisions.